OpenIAV (Image Annotation Viewer)
version 1.0.6
OpenIAV (Image Annotation Viewer) is a Web-based image annotation tool, it can store a high-resolution figure, and view scale-free slide smooth. This tool includes a rich user interface for graphical annotation such as a shape of a line, circle, rectangle, and color pallet. This viewer has an easy administration tool for user management. Additionally you can describe a annotated information for an image as metadata.

ID and password for the demonstration. (ID: demo1 / PW: demodemo)
Get IAV from Docker Hub Get IAV images from HGC
Get IAV source code from GitHub
|
日本語 (in Japanese) |
|---|
|
System Requirement Prepare Docker on ... Mac OSX Windows Linux |
|
Remote install of IAV from Docker Hub Local Install of IAV from Docker images |
| Usage Top |
in English
Preparation of Docker for Mac OSX
M-1. Install "Command Line Tools for Xcode".
$ xcode-select --installM-2. Install a package management system of "Homebrew".
http://brew.sh/index.html (Link to other Website)$ ruby -e "$(curl -fsSL https://raw.githubusercontent.com/Homebrew/install/master/install)"M-3. Update the package of Homebrew.
$ brew updateM-4. Install application of "VirtualBox".
$ brew upgrade
https://www.virtualbox.org/wiki/Downloads (Link to other Website)M-5. Install Boot2Docker and Docker.
$ brew install boot2docker dockerM-6. Upgrade Boot2Docker.
$ boot2docker upgradeM-7. Check the IP address assigned using the command of Boot2Docker.
$ boot2docker ip
Preparation of Docker for Windows
W-1. Install application of "Windows Docker Client".
https://docs.docker.com/installation/windows/ (Link to other Website)
https://github.com/boot2docker/windows-installer/releases (Link to other Website)
* Boot2Docker, Boot2Docker Management Tool, Docker, VirtualBox, msysGit are installed
W-2. Start Boot2Docker from the start menu.
W-3. Make a note of the IP address and PORT of DOCKER_HOST displayed at the time of starting.
Preparation of Docker for Linux
LC-0. Install Docker from EPEL of Fedora in CentOS 6. (don't need after version 6.5)
$ sudo rpm -ivh http://ftp.riken.jp/Linux/fedora/epel/6/x86_64/epel-release-6-8.noarch.rpmLC-1. Update package of yum.
$ sudo yum updateLC-2. Install Docker.
$ sudo yum install docker-io (in case CentOS 6)LC-3. Set up to start Docker at the time of boot of CentOS.
$ sudo yum install docker (in case CentOS 7)
$ sudo chkconfig docker onLC-4. Start Docker service.
$ sudo /etc/rc.d/init.d/docker startLC-5. Inspect an IP address,to access from a browser to a Web server. (Please check the docker0 using ifconfig command.)
Common process of remote installation for Image Annotation Viewer from Docker Hub
C-0. Register your account into Docker Hub.
https://registry.hub.docker.com/ (Link to other Website)
C-1. If you encounter the message of "Cannot connect to the Docker daemon. Is 'docker -d' running on this host?" then you execute next command.
$ export $(boot2docker shellinit)C-2. Login to Docker Hub.
$ docker loginC-3. Pull container image of OpenIAV from Docker Hub.
$ docker pull komiyama/binderC-4. Check an information of container image.
$ docker imagesC-5. Start a container from an image as a daemon and assign HTTP port to the container.
$ docker run -t -i -d -p 10080:80 --name binder komiyama/binderC-6. Check a sturted container.
$ docker ps -aC-7. Access http://DOCKER_HOST:PORT/binder/login/ via a browser.
Example:
http://192.168.59.103:10080/binder/login/C-8. Default user accounts were registered as each user roles.
Administrator: (ID:admin, Password:adminadmin)
User: (ID:user1, Password:useruser)
Supervisor: (ID:demo1, Password:demodemo)
C-9. Set up the CONTAINER ID into an option parameter of docker stop command at the termination of a container.$ docker stop CONTAINER_ID
Common process of local installation for Image Annotation Viewer from Docker Images of TAR file
C'-1. If you encounter the message of "Cannot connect to the Docker daemon. Is 'docker -d' running on this host?" then you execute next command.
$ export $(boot2docker shellinit)C'-2. Download the TAR file of container image of OpenIAV from our Web site.
https://regmed.hgc.jp/docker/ImageAnnotationViewer_latest.tar.gzC'-3. Load the TAR file in to your docker.
$ docker load -i /YOUR/FILE/PATH/AnnotationImageViewer_latest.tar.gzC'-4. Check an information of container image.
$ docker imagesC'-5. Set a human readable tag to the loaded IAV image.
$ docker tag IMAGE_ID komiyama/binder:latestC'-6. Start a container as a daemon and assign HTTP port to the container.
$ docker run -t -i -d -p 10080:80 --name binder komiyama/binderC'-7. Check a sturted container.
$ docker ps -aC'-8. Access http://DOCKER_HOST:PORT/binder/login/ via a browser.
Example:
http://192.168.59.103:10080/binder/login/C'-9. Default user accounts were registered as each user roles.
Administrator: (ID:admin, Password:adminadmin)
User: (ID:user1, Password:useruser)
Supervisor: (ID:demo1, Password:demodemo)
C'-10. Set up the CONTAINER ID into an option parameter of docker stop command at the termination of a container.$ docker stop CONTAINER_ID
Usage
U-1. Login
Click the "Local Login" button, and secondly, input the default user account and password such as "user1 : useruser" into the forms, and thirdly click the submit button.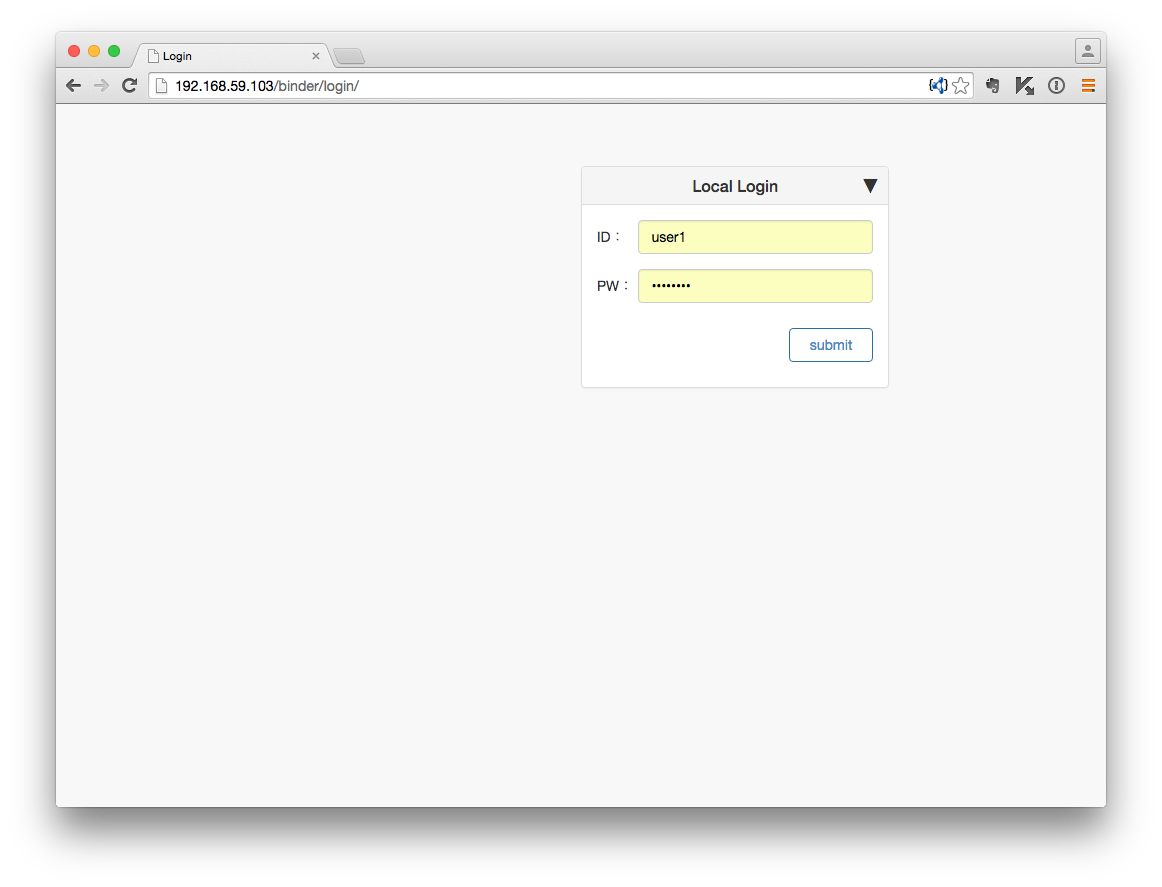
U-2. Create image page
First, the tutorial explains about upload for your image files. Please click the "Create Image" button.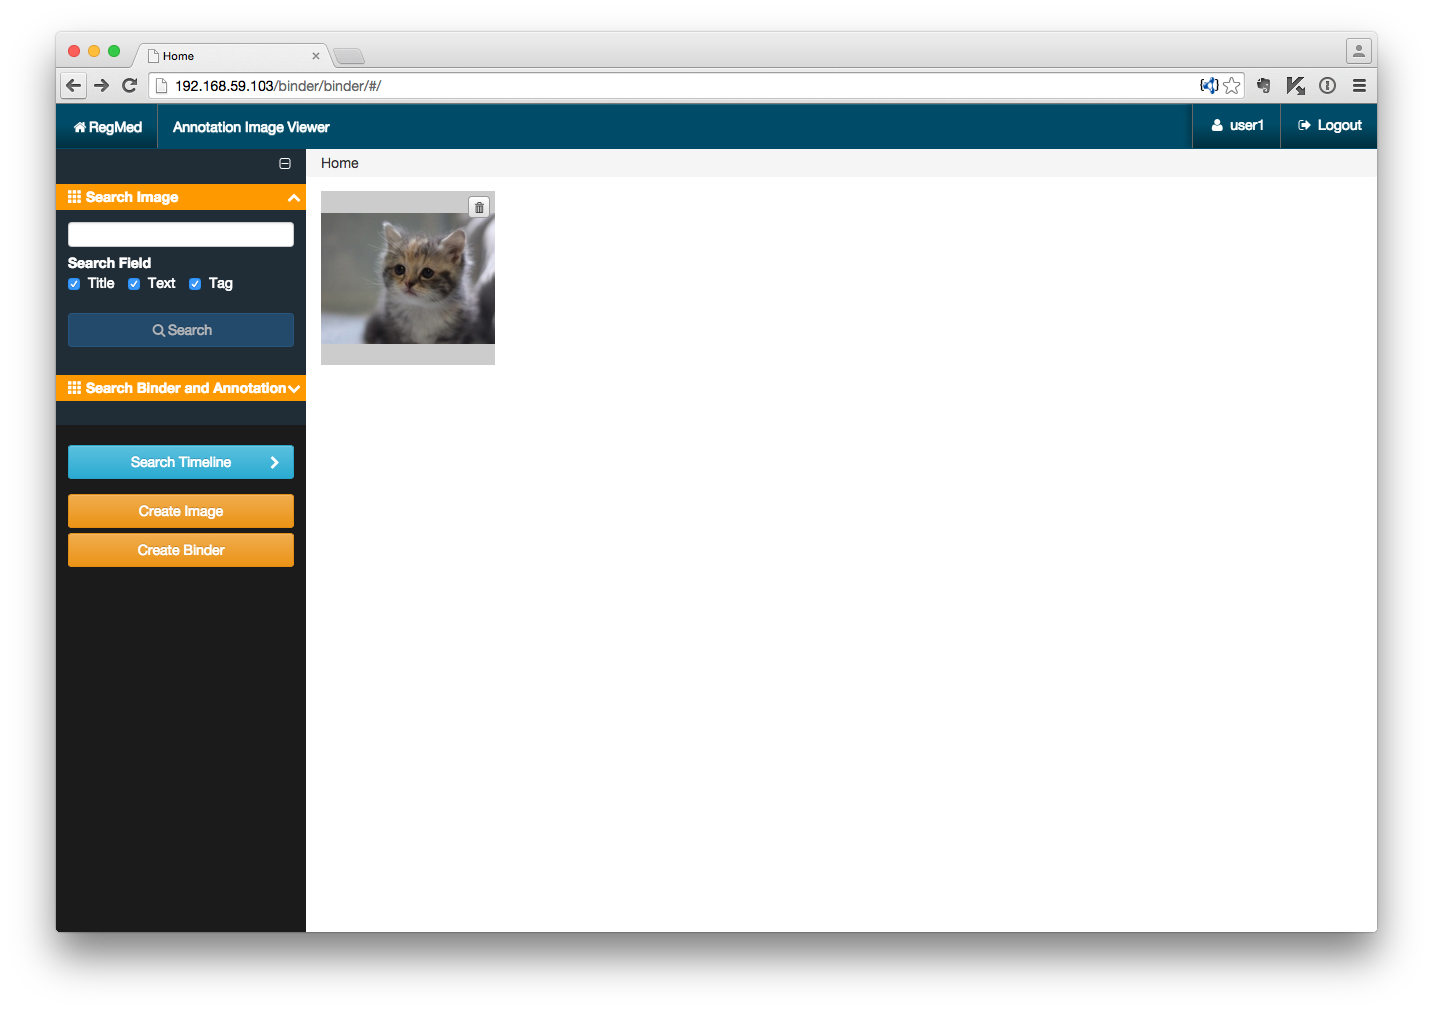
U-3. Upload image file
In next screen shows "Upload" function. Please, choice upload way from "Select File", "Select Folder" and "Drag and Drop into the yellow area", and finally, click the "Upload" button. When you upload your files, a blue progress bar appears in the upper part of a screen.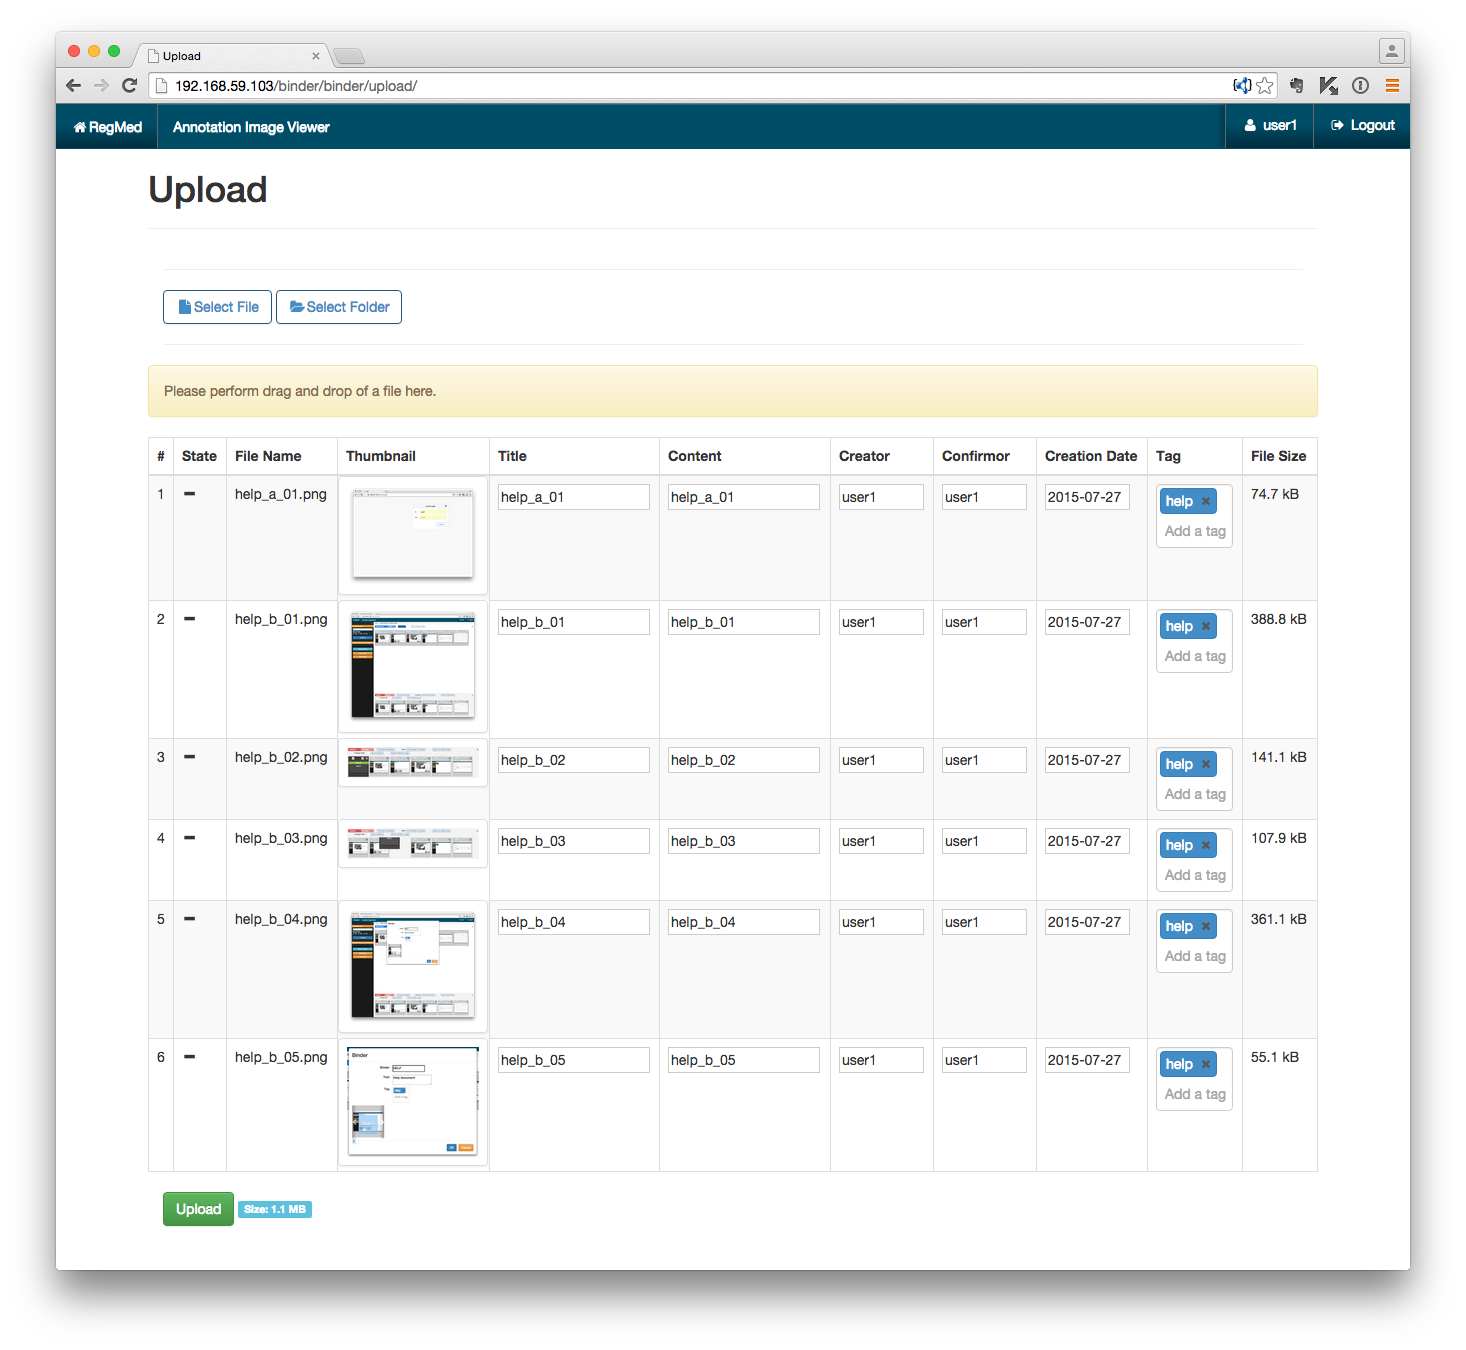
U-4. Collect images into binder
This screen shows an image selection scene, and it has two selectable regions. White region displaying the original images and a gray region is selected images as collected binder pages internal. Please select your target figures from the upper field, and copy the same images into the lower field automatically.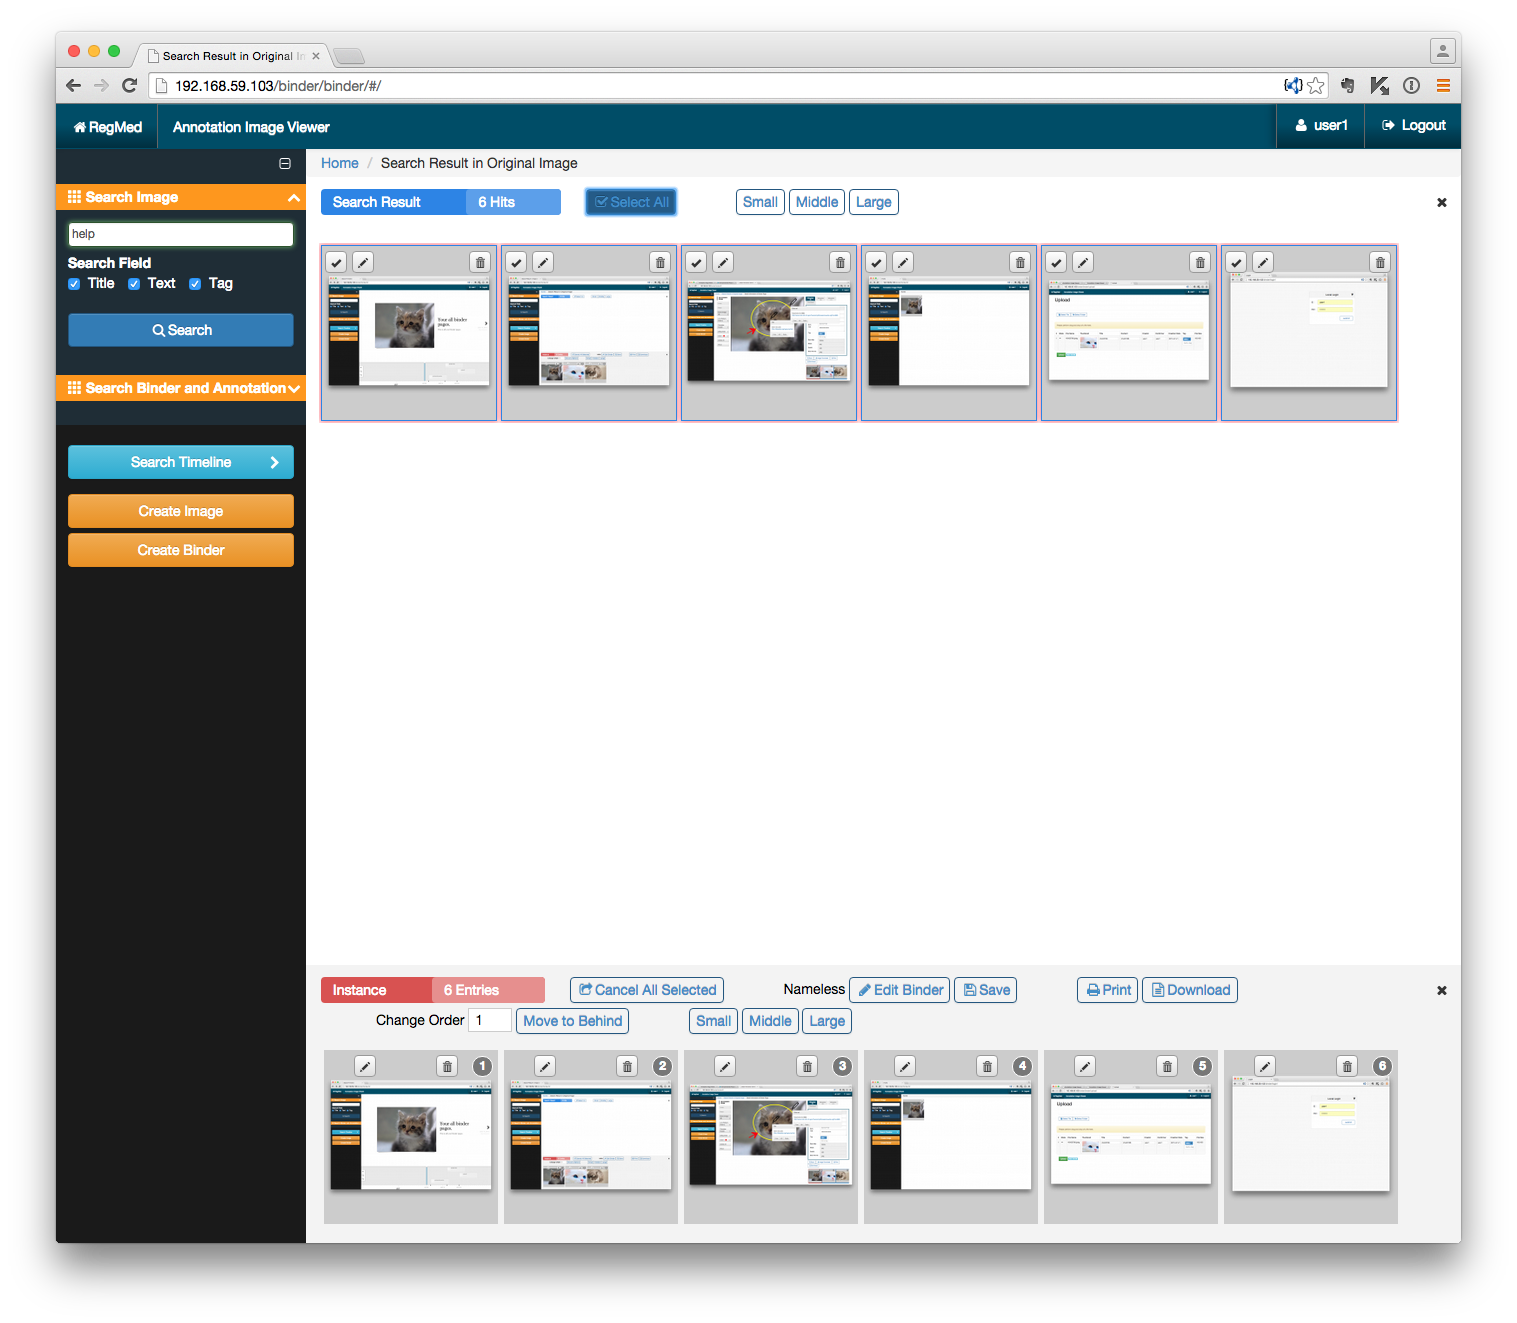
U-5. Edit binder
You can start to annotate a binder image from the pen (edit) icon. If you want to remove a selected image from binder collection, then click the garbage (REMOVE) button in gray fields. However, in white fields, the garbage button is not the same function, it means a DELETE button of original image data from IAV database. Be careful of your actions. We explain each functional button. The "Cancel All Selected" button removes selected binder pages from the collection (gray field). "Edit Binder" button edits the information of a current binder and choices a cover images. "Save" button create and saves current binder. "Print" button generates a PDF file about series of binder image from the binder with annotation. "Download" button gives an original image and XML files. "Move to behind" moves a selected binder page from the initial position to behind the "Change Order" number. "Small," "Middle" and "Large" controls the thumbnail size in the both fields. If you need more display an area, then click the x (cross) button in another field. This operation executes an expansion or a reduction of one region.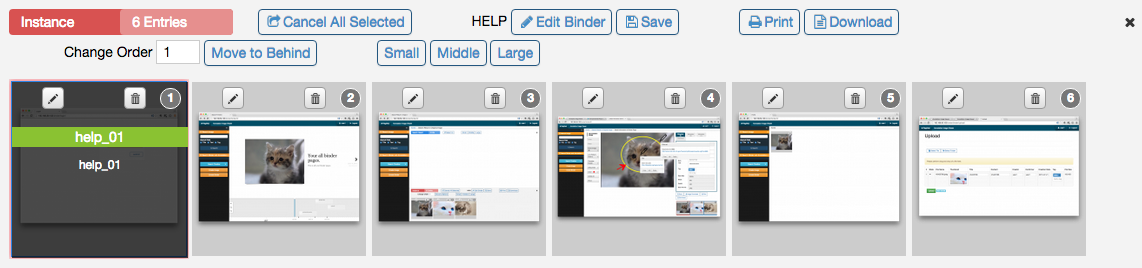
U-6. Sort images in binder
In a Binder region, it is available to replace an image freely by drag and drop.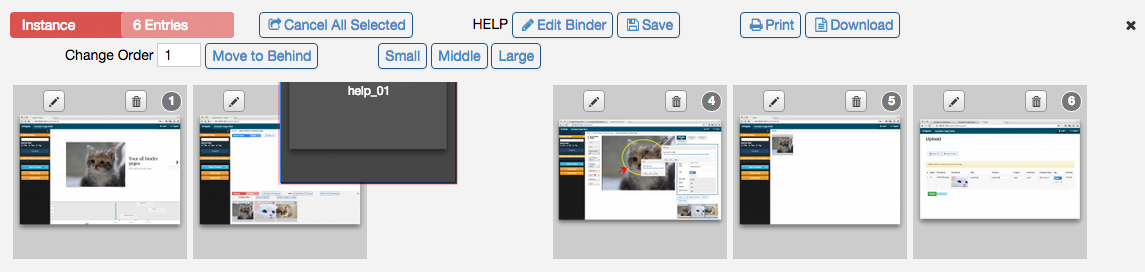
U-7. Edit binder information
This screen is a binder image information, it includes a binder name, description text and tags. Besides, you can select cover image from the binder.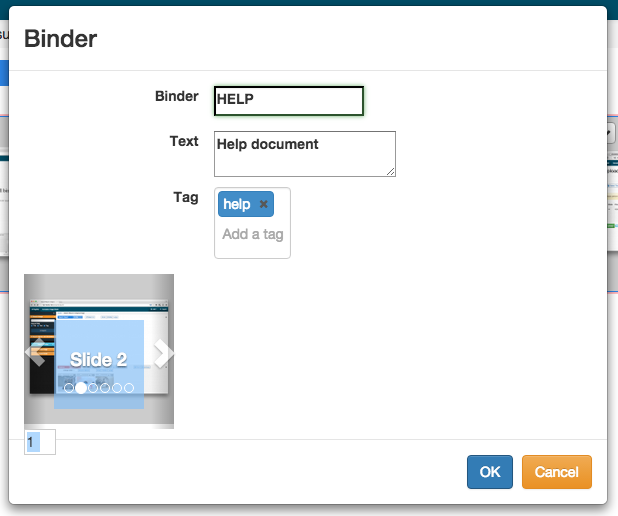
U-8. Annotate on binder page
The image annotation screen after selecting a pen mark. Attach annotation after selecting the Shape type and a color from an annotation menu. A comment and URL are recordable on the image coordinates on an image by selecting annotation.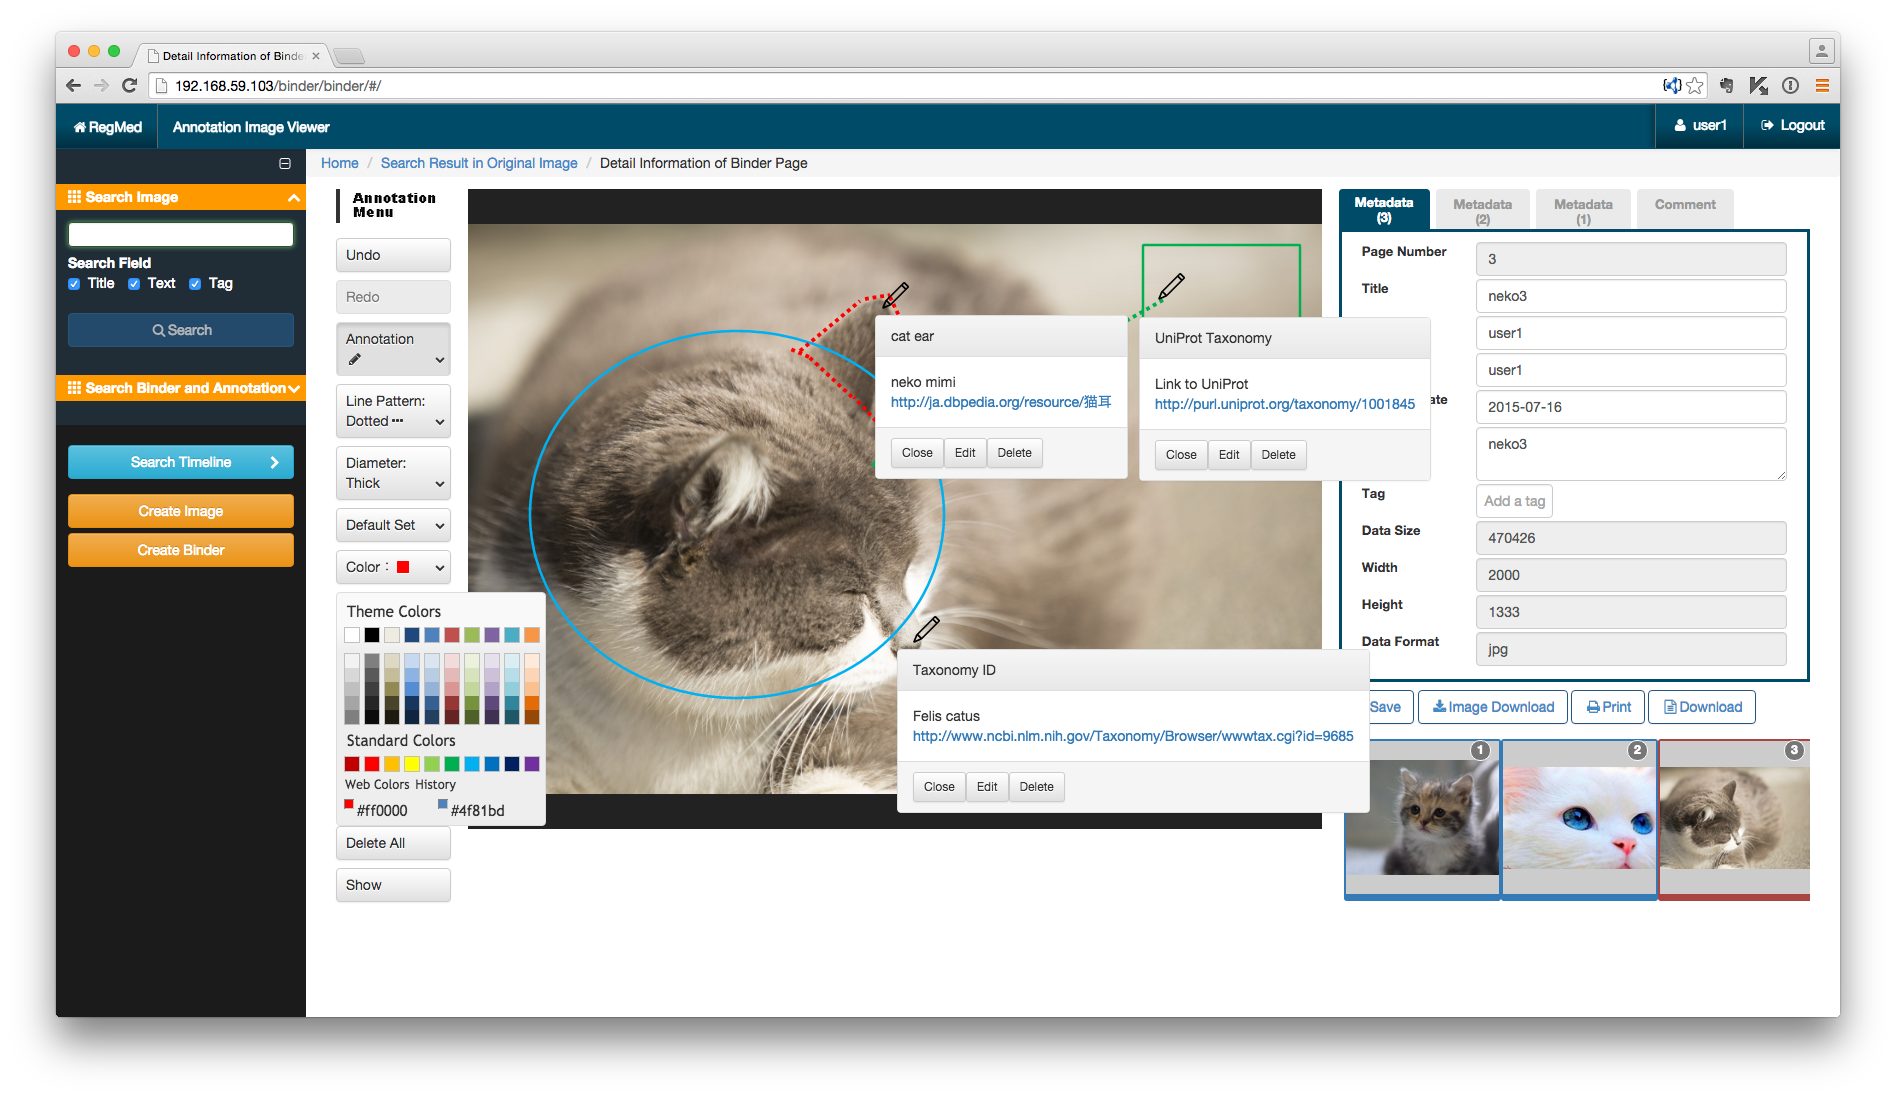
System Requirement
OS: Windows 7, 8.1 (64bit), Mac OSX (64bit), Linux CentOS 6 etc. (64bit); 32bit OS is not supported!
CPU: Intel Core i 5/7 series multi-core processor, Xeon series.
Main Memory: 4GB (Minimum)
Storage: 2GB (Minimum)